How to Create a One-Time Scan QR Code
A one-time scan QR code (also called a disposable QR code or single-use QR) can only be scanned once. The moment the first person scans it, QRTRAC marks it as used — every subsequent scan is automatically blocked. No app needed on either side.
How it works: QRTRAC's Scan Limit feature in Advanced Settings controls how many times any QR code can be scanned. Set Scan Count = 1 and the code becomes single-use. That's it.
Use Cases — When to Use a One-Time QR Code
🎟️ Unique Coupon Per Person
Send each customer their own QR coupon. Once redeemed, it can't be shared or used again — preventing coupon fraud entirely.
🎁 Free Gift / Product Redemption
Print a single-use QR inside product packaging for a free gift offer. The first scan claims it — no second claims possible.
🎫 Event Ticket & VIP Pass
Each attendee gets their own single-use QR pass. Scanning at the gate burns it instantly — screenshots and forwarded passes are rejected.
🏆 Contest — First Scanner Wins
Post a disposable QR on social media or in-store. Only the very first person to scan it wins the prize — all later scanners see an "Already Claimed" page.
📦 One-Time Document Access
Share a confidential PDF or link that can only be opened once — perfect for signed contracts, one-time download links, or private content.
🍽️ Single-Use Table Offer
A "scan for a free dessert" QR at restaurant tables that resets per visit but can't be used twice at the same sitting.
Step-by-Step: Create a One-Time Scan QR Code
Step 1 — Create or open any QR code
Log in to QRTRAC and either create a new QR code (Create QR Code in the left sidebar) or open an existing dynamic QR code. The Scan Limit feature works on all dynamic types — URL, Coupon, PDF, Digital Business Card, and more.
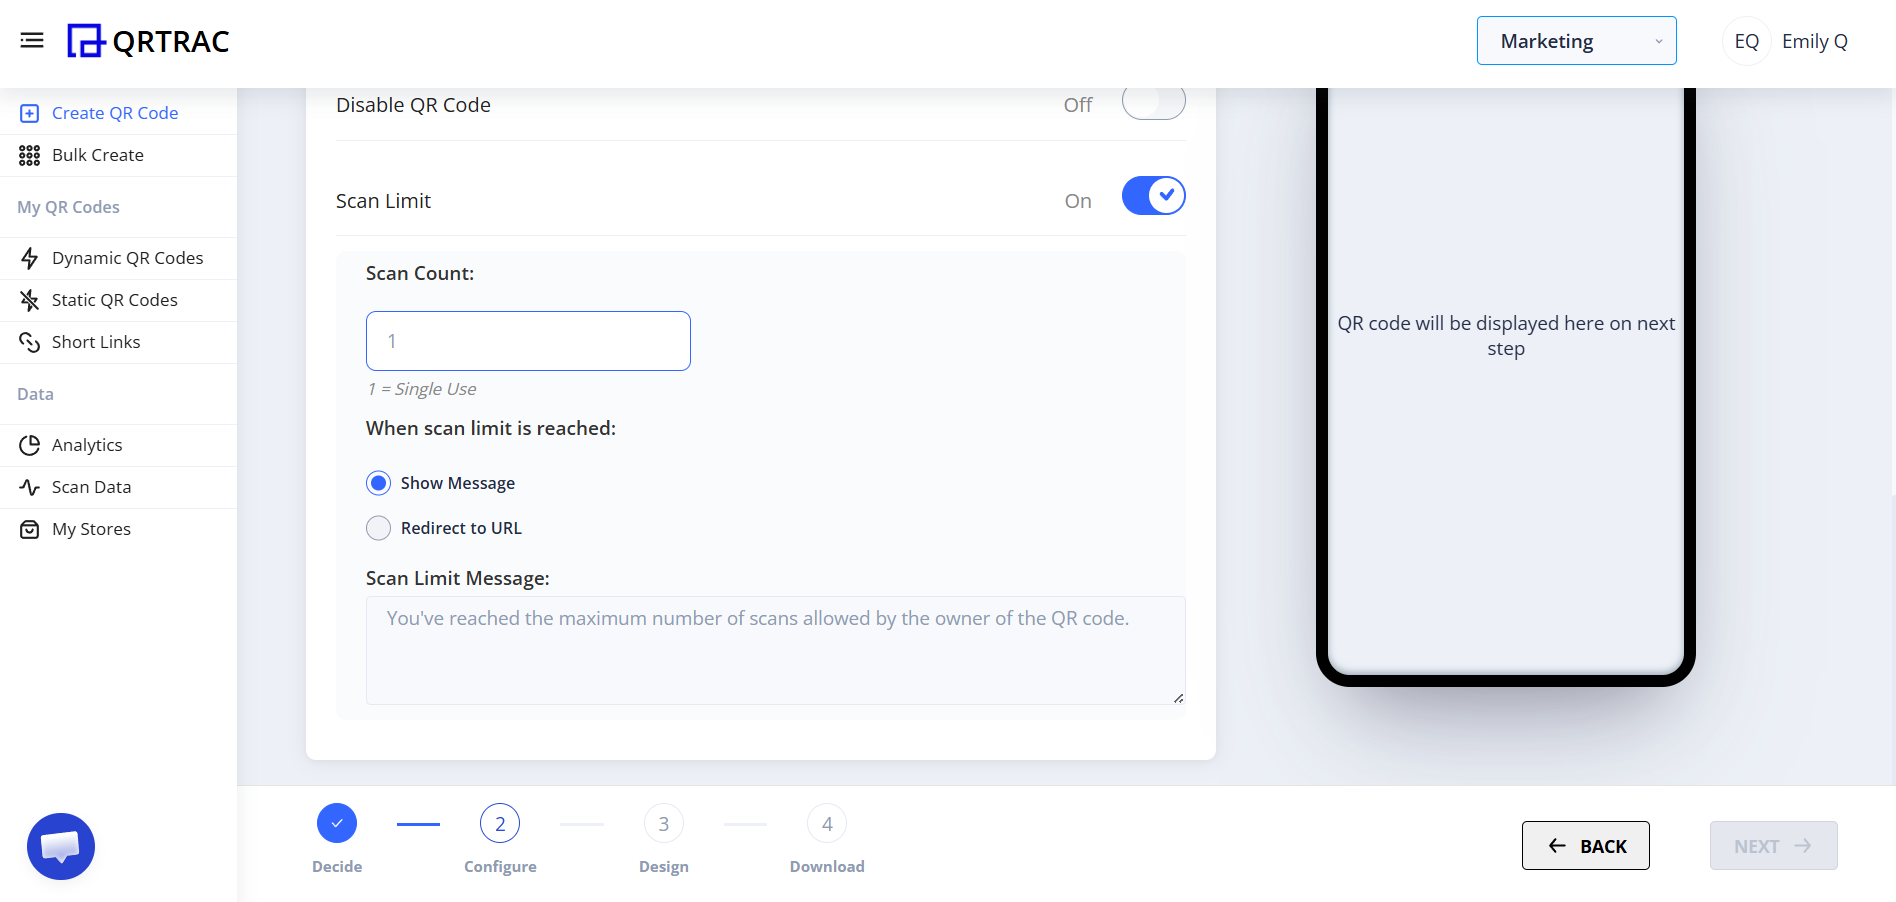
Step 2 — Open Advanced Settings
On the QR creation or edit screen, scroll down and click Advanced Settings. This panel controls GPS tracking, scheduling, passwords, and scan limits.
Advanced Settings — Scan Limit enabled, Scan Count = 1 (Single Use)
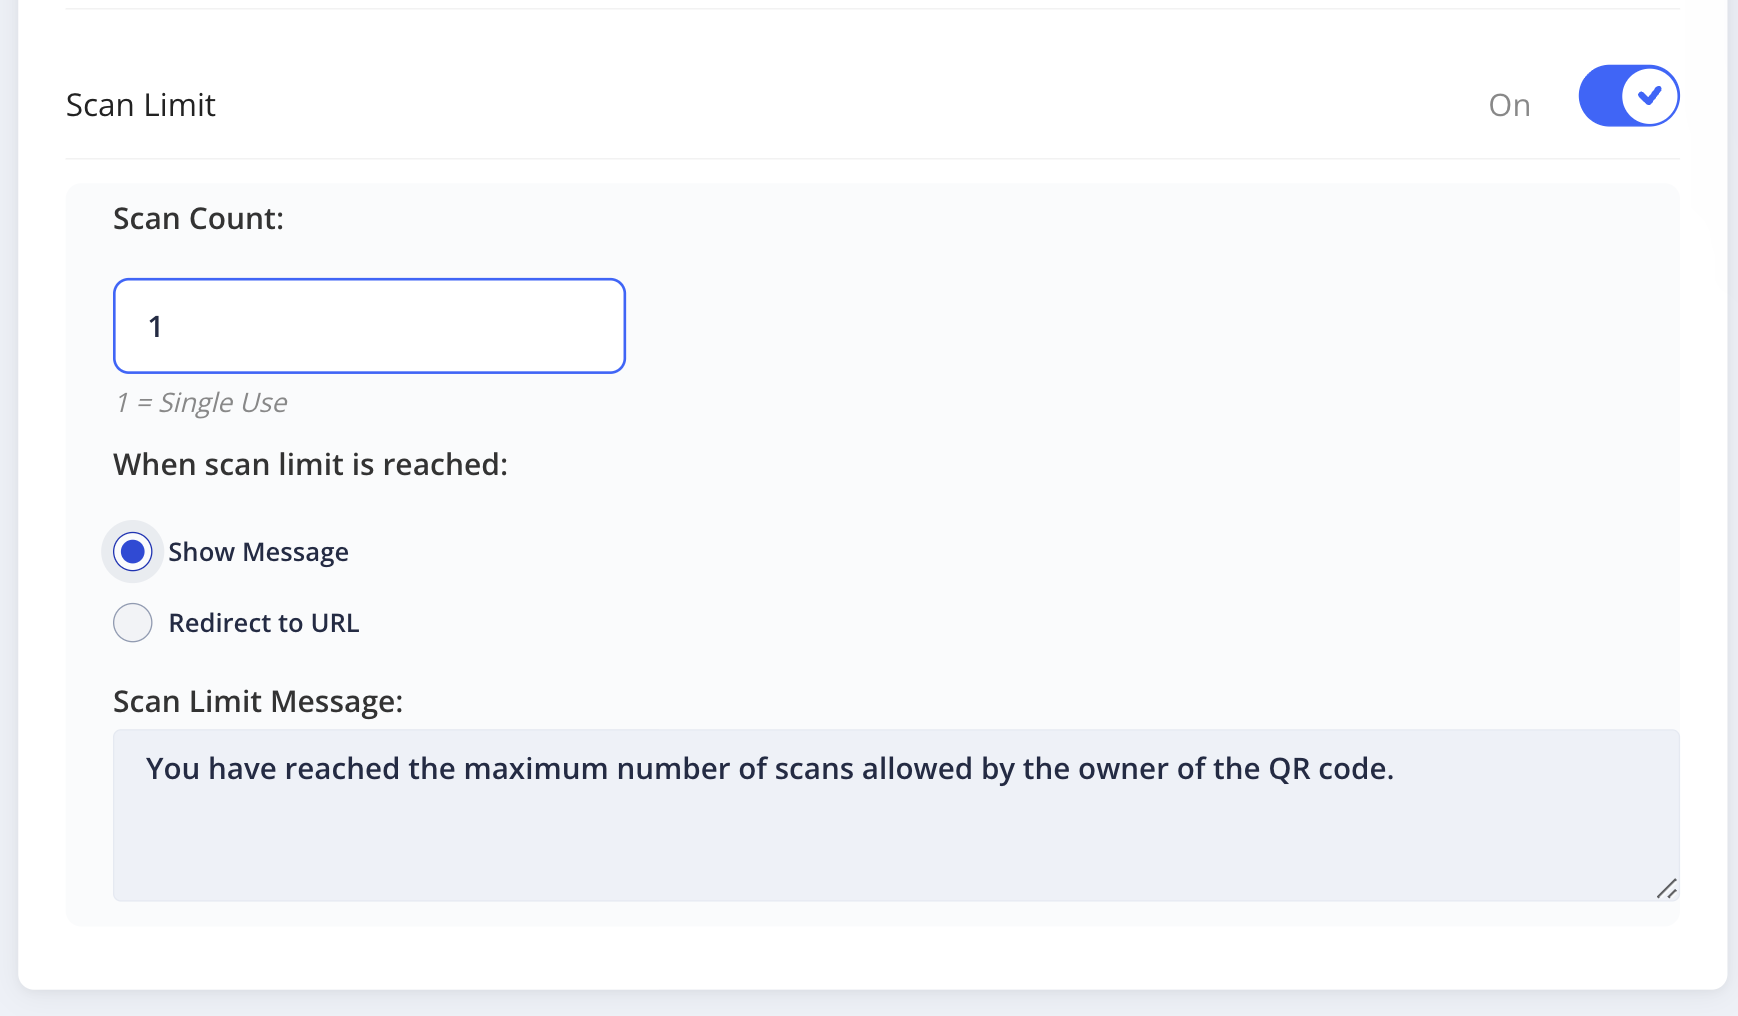
Step 3 — Enable Scan Limit and set count to 1
Toggle Scan Limit to On. A Scan Count field appears below it.
- Set Scan Count = 1 — the label "1 = Single Use" confirms the setting
- The QR code will now be permanently burned after its first successful scan
Important: Scan count is tracked server-side — not by device or IP. It doesn't matter if the same person deletes their cookies or switches phones. Once the limit is reached, the QR is globally expired.
Step 4 — Choose what happens after the one scan
Under When scan limit is reached, choose one of two options:
| Option | What the scanner sees | Best for |
|---|---|---|
| Show Message | A custom text message you write (e.g. "This coupon has already been redeemed.") | Coupons, gift redemptions |
| Redirect to URL | Sends late scanners to any URL you choose (e.g. https://qrtrac.link/USED-PASS) | Event passes, landing pages showing "Already Used" |
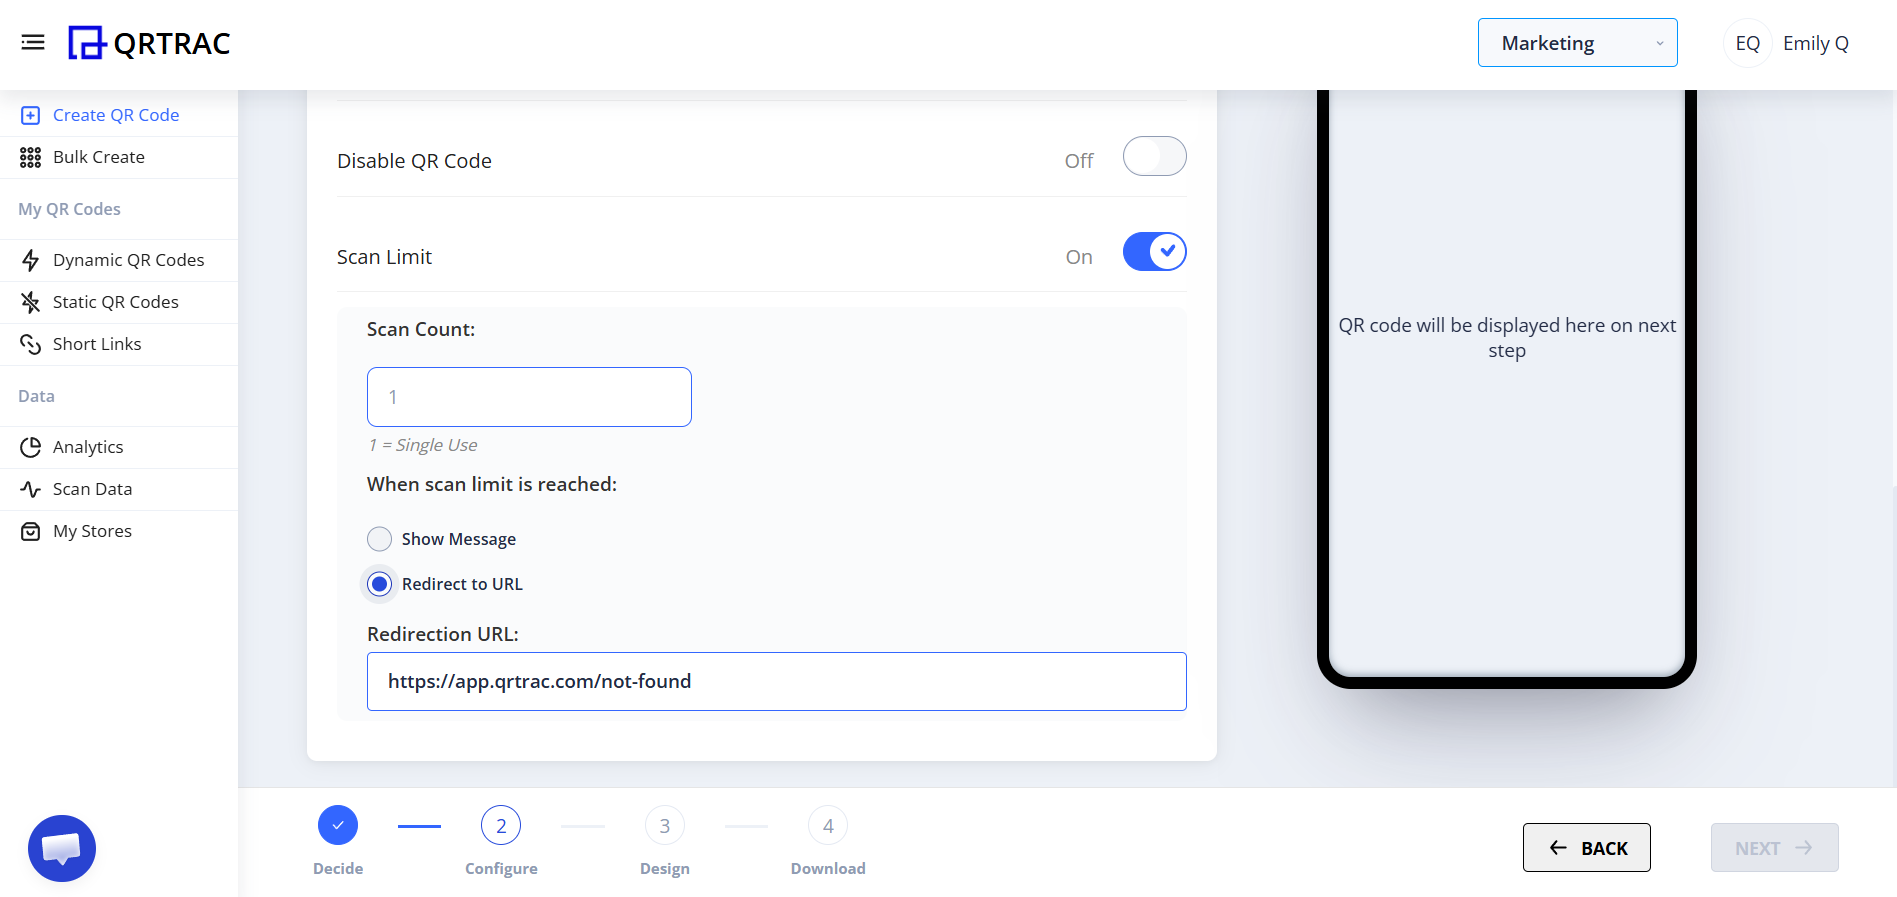
Setting a redirect URL for when the single-use QR has already been scanned
Step 5 — (Optional) Add Password Protection
If you want only authorized staff to be able to validate the scan (e.g. at an event gate or store counter), also enable Password in Advanced Settings and set a code. This means the QR can only be scanned once AND requires staff to enter the correct password — preventing attendees from self-validating.
Password + Scan Limit = 1 together: only staff can validate, and it can only happen once
Step 6 — Save, download, and distribute
Click Save (or Next if still in the creation flow). Download your QR code image and distribute it:
- Email — send each recipient their own unique QR (use Bulk Creation for lists)
- Print — inside packaging, on vouchers, or at event check-in desks
- Digital — inside an order confirmation email, SMS, or app notification
✓ Recommended: Always test your one-time QR before distributing. Scan it once to confirm it works, check that the post-limit message or redirect fires correctly on a second scan, then reset the scan count in your dashboard before going live.
Creating Unique One-Time QR Codes for Each Person
A single one-time QR is useful for "first person wins" scenarios. But for unique coupons, personalised gift vouchers, or individual event passes, every person needs their own separate QR code — each with its own independent scan counter.
Use Bulk Creation in QRTRAC:
- Go to Bulk Create in the left sidebar
- Upload your list (CSV/Excel) with one row per person
- Enable Scan Limit = 1 in Advanced Settings during bulk setup
- QRTRAC generates a separate single-use QR for every row
- Download the ZIP with all QR images, or export the scan links to email individually
Example: You have 500 customers and want to send each one a "Free Product" QR code valid for a single redemption. Upload your 500-row CSV, enable Scan Limit = 1, and QRTRAC generates 500 independent single-use QR codes. When customer #312 redeems theirs, it has zero effect on the other 499.
Common Mistakes to Avoid
- ❌ Using the same QR for everyone — one person redeems it and everyone else gets blocked. Always use Bulk Creation for per-person codes.
- ❌ Forgetting to test the post-limit redirect — always scan twice in testing before printing.
- ❌ Not setting a redirect URL — leaving it blank gives scanners a confusing empty page. Always write a clear "already used" message or redirect.
- ❌ Printing before checking the scan count — if you tested by scanning, reset your scan counter in the dashboard before distributing the final code.
Combining Schedule + Password + Scan Limit: The Full Status System
When you stack all three Advanced Settings together, QRTRAC manages a complete pass lifecycle automatically. Each QR code can move through three distinct server-side statuses — with no manual intervention at the gate.
Not In Schedule
The QR is scanned before the event window opens. The system returns "Not in Schedule" — the pass is not burned. It automatically becomes valid once the Schedule Campaign start time is reached.
Set via: Schedule Campaign → Start Date/Time
Valid → Auto-Marked Used
Staff scans the QR and enters the staff password on their device. The system shows PASS IS VALID and automatically marks it USED in under 100ms. No manual step needed — the burn is instant and irreversible.
Set via: Password + Scan Limit = 1
Already Used — Blocked
The same QR scanned again — from any device, any location — returns PASS IS USED and blocks entry. Screenshots, photocopies, and forwarded passes all hit this wall. The block is permanent.
Automatic: triggered once Scan Limit = 1 is consumed
Key insight: Status 1 (Not in Schedule) does not burn the scan counter. An attendee who scans early — accidentally or intentionally — does not waste their one-time use. Only a successful staff password validation triggers the burn. This means you can safely send QR passes to attendees days before the event without worrying about early scans consuming the single-use limit.